
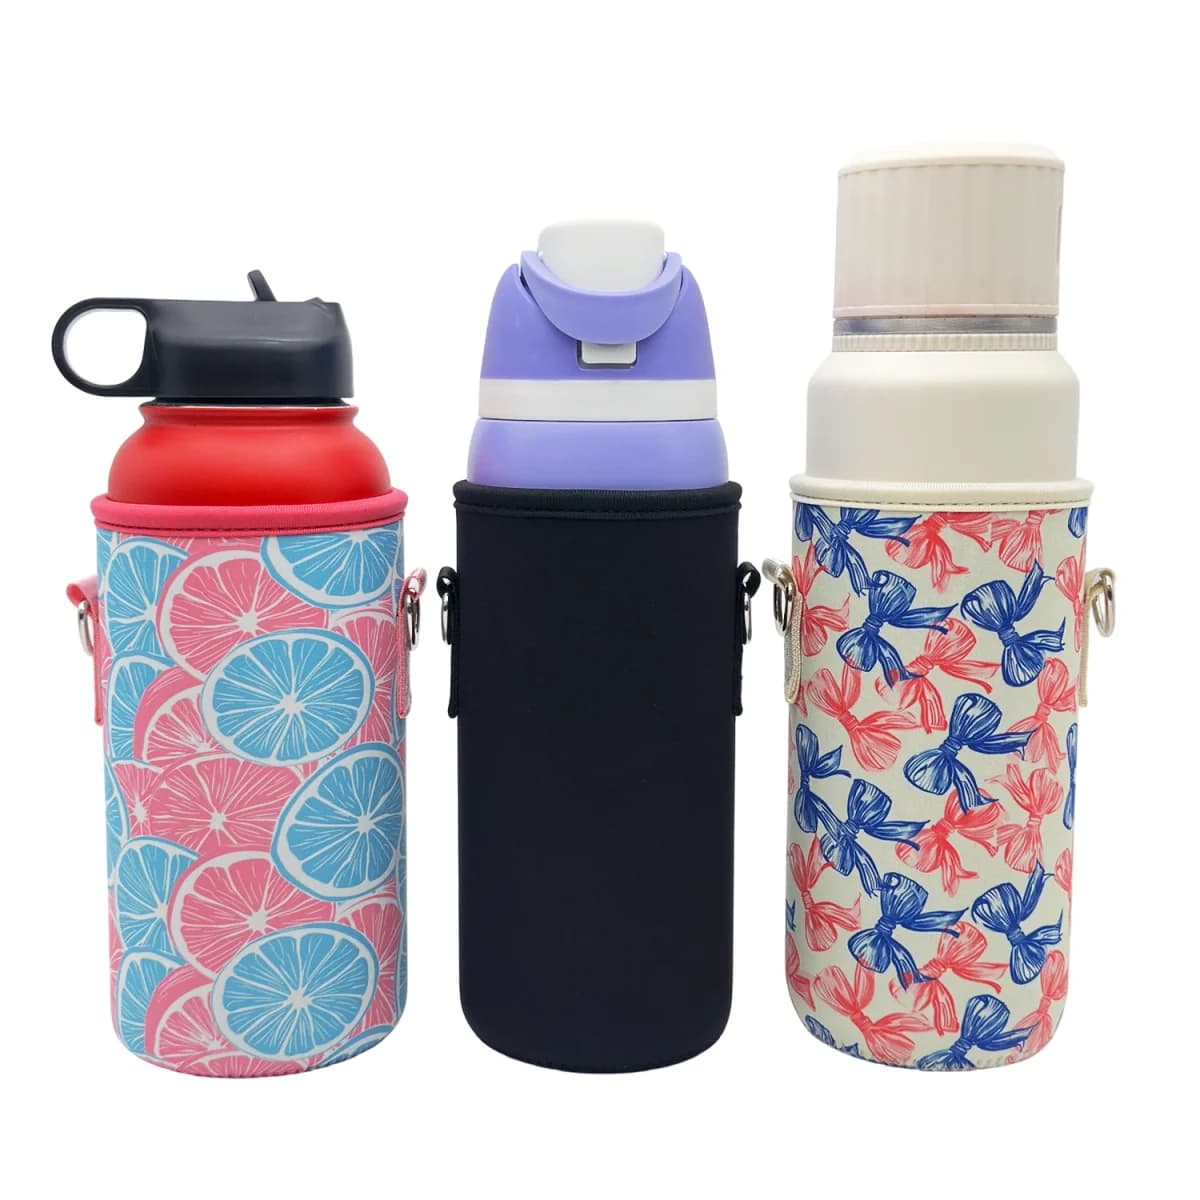
A custom water bottle holder starts with the actual bottle, not just its capacity. Bottles with the same marked capacity can have different bases, shoulders, and caps. For a gift or retail program, the useful question is whether the holder works with the bottle’s shape and the intended way of carrying it.
Prepare a brief that identifies the bottle, the required access, and the strap arrangement. Use the sample to check three things: bottle insertion and removal, adjustment on the intended wearer, and how the attachment points behave during normal carrying.
Build a bottle-specific fit brief
Record the bottle’s marked capacity and identifying model or photos. Label bottle and holder dimensions separately, distinguish diameter from circumference, and mark where each measurement was taken.
| Item | Bottle information to supply | Sample check |
|---|---|---|
| Capacity | Marked capacity and exact bottle model | Use the intended bottle, not another with the same capacity. |
| Body and base | Maximum body diameter and base diameter | Check seating and contact around the body. |
| Height and profile | Overall height; shoulder, taper, cap, and handle shape | Check where the rim sits on the bottle. |
| Access | Normal insertion, removal, and cap-opening sequence | Check that the rim and strap leave the required access. |
For a nonround bottle, supply width and depth at labeled points. Ask the supplier to propose holder dimensions from this brief, then verify them on the sample.
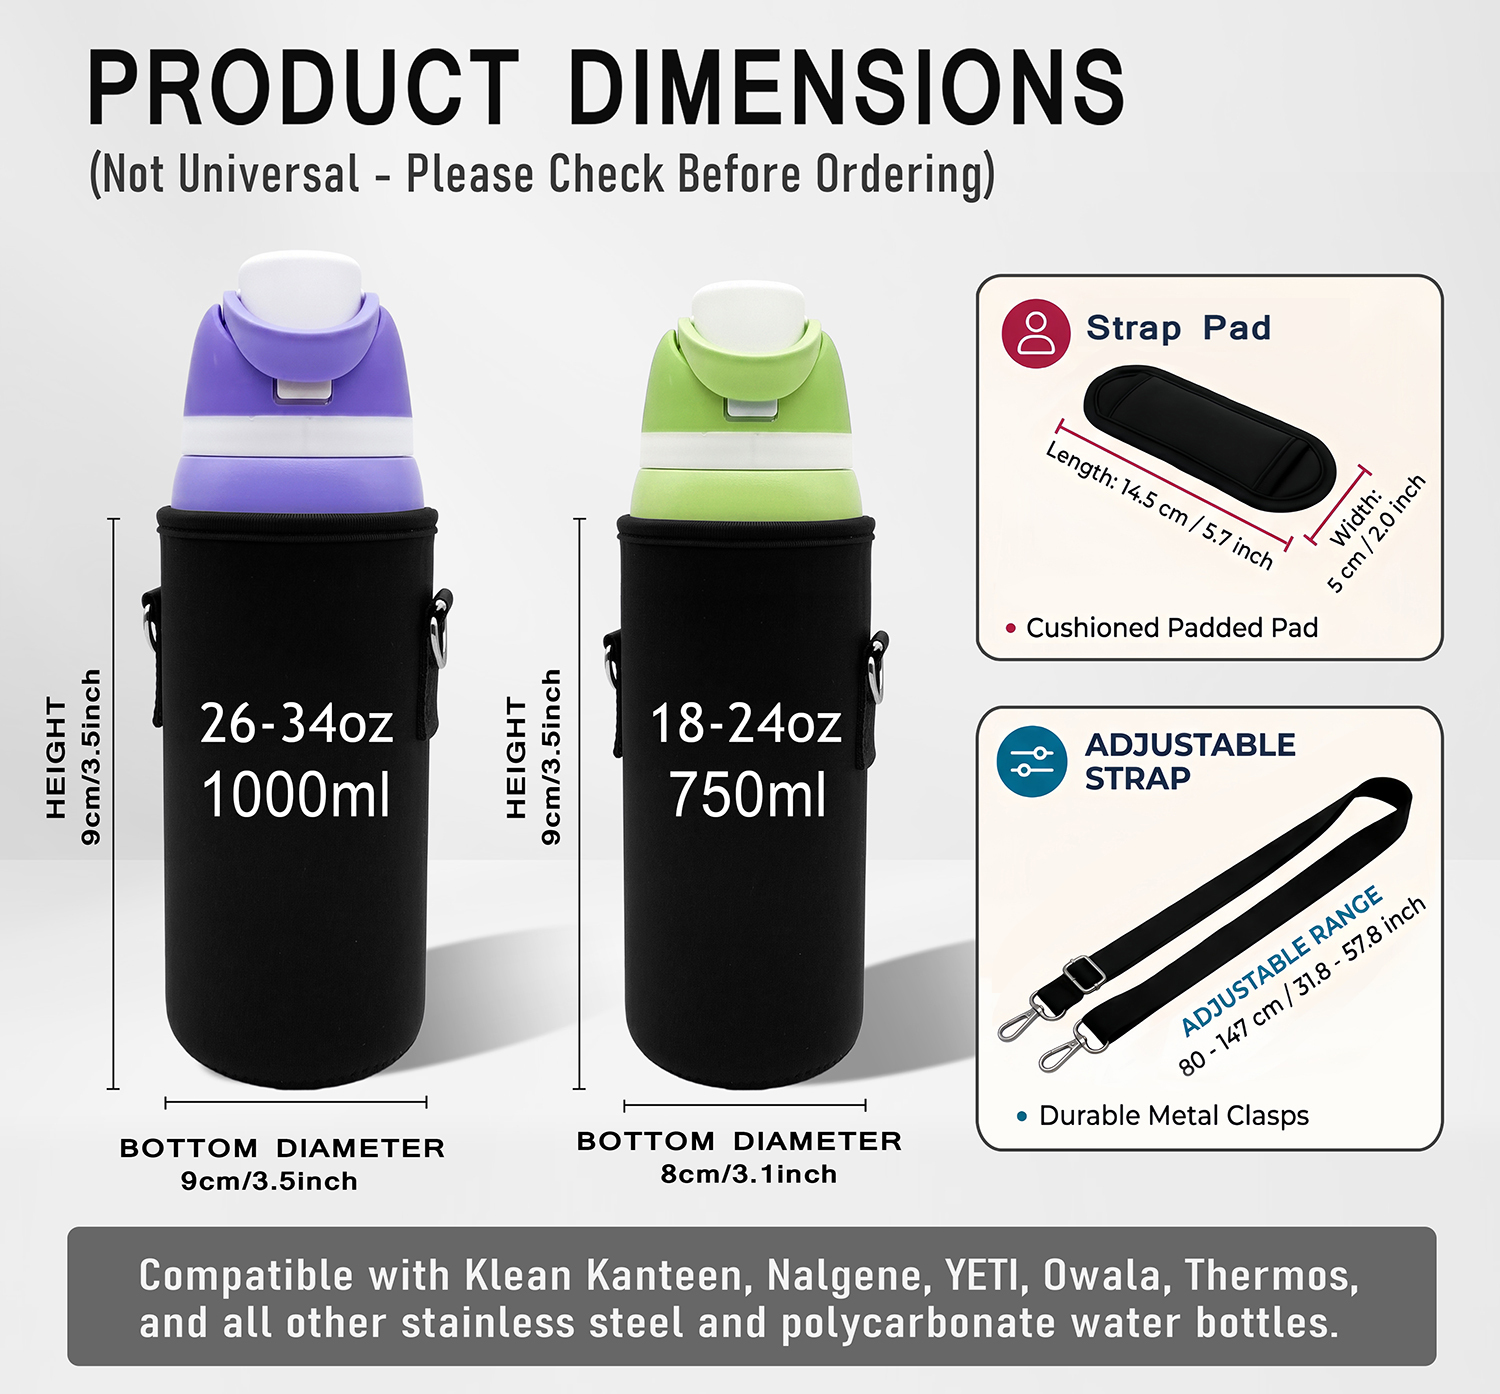
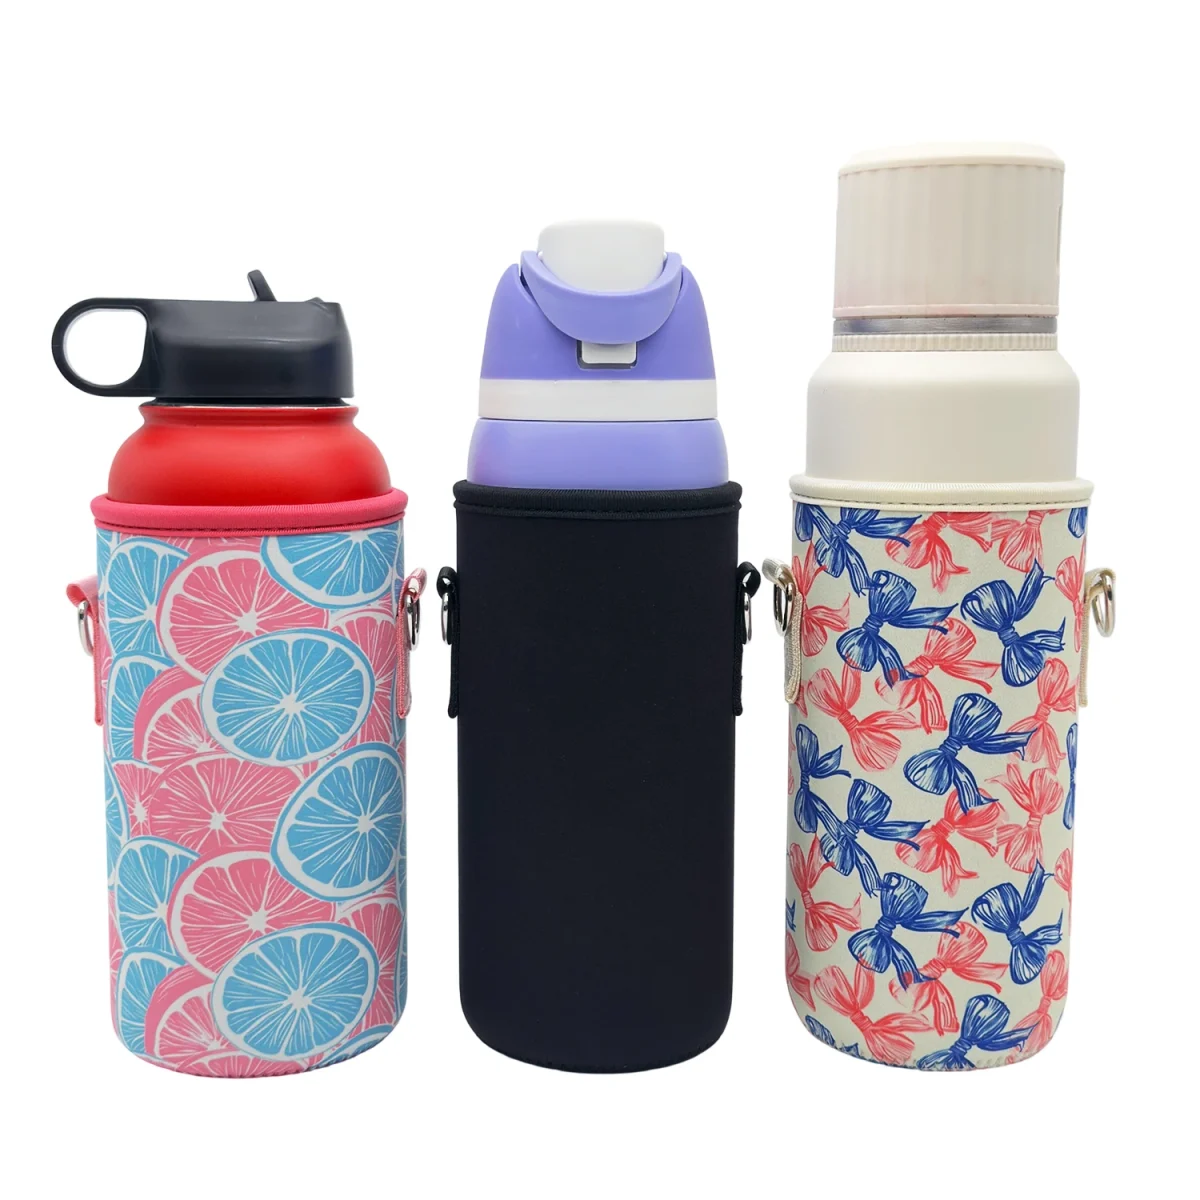
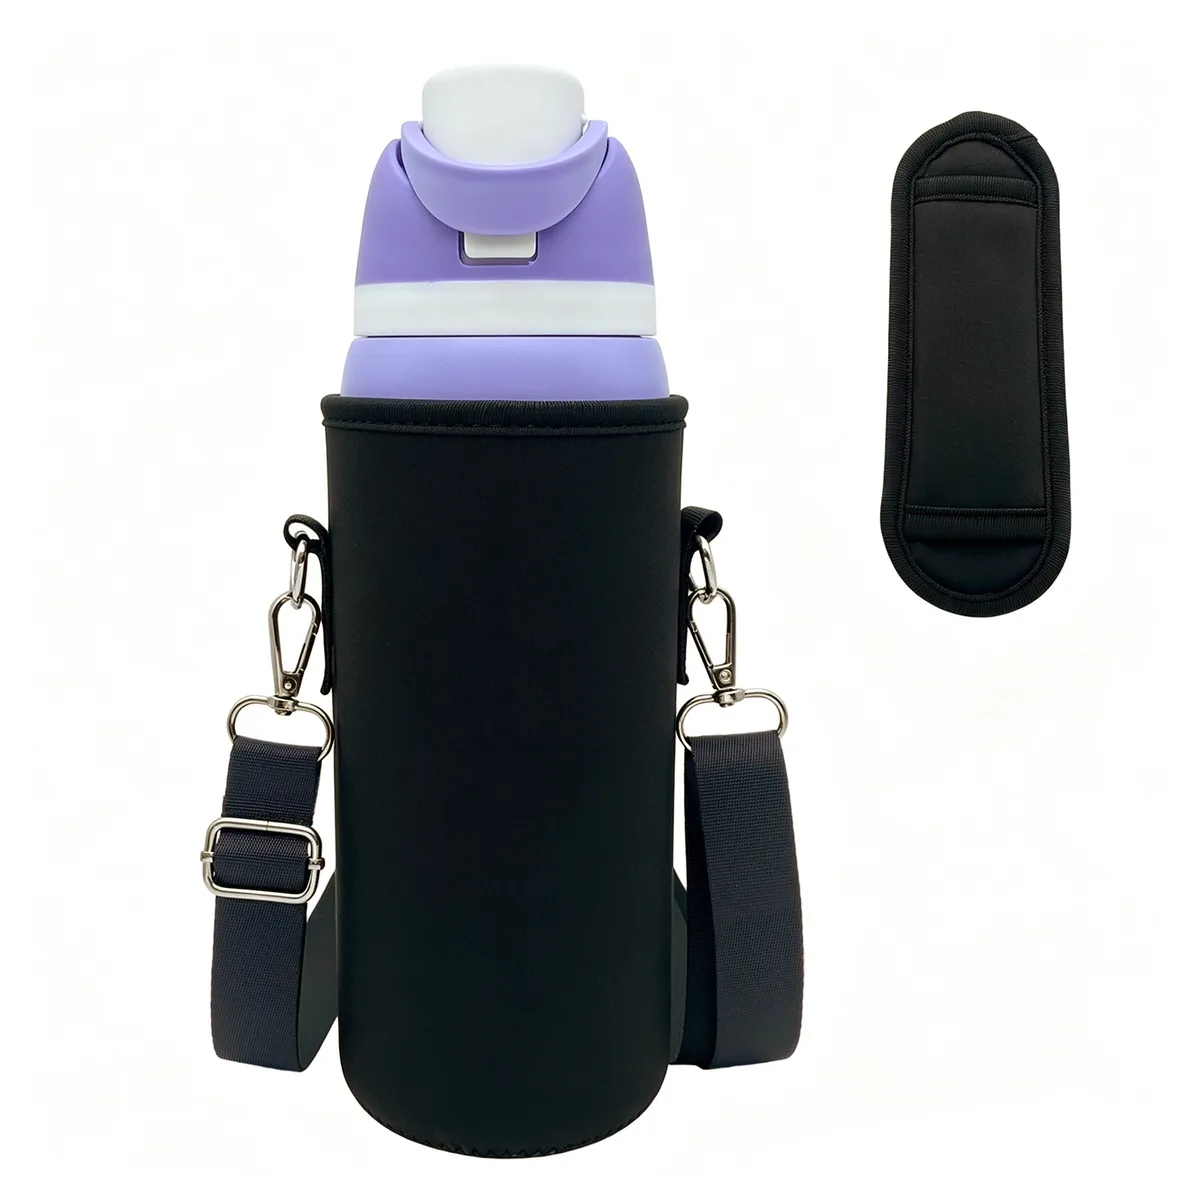
The reference neoprene water bottle holder has an open top with a fabric-bound rim, a sewn round base, and a detachable adjustable webbing shoulder strap with metal clips. State whether a shoulder pad is required and specify it separately.
Confirm the final material, thickness, and fabric against the agreed sample. The detail photograph’s 3.5 mm label applies to the pictured sample only. This reference has no closure; a retention or closure requirement needs a separately proposed construction and sample validation.
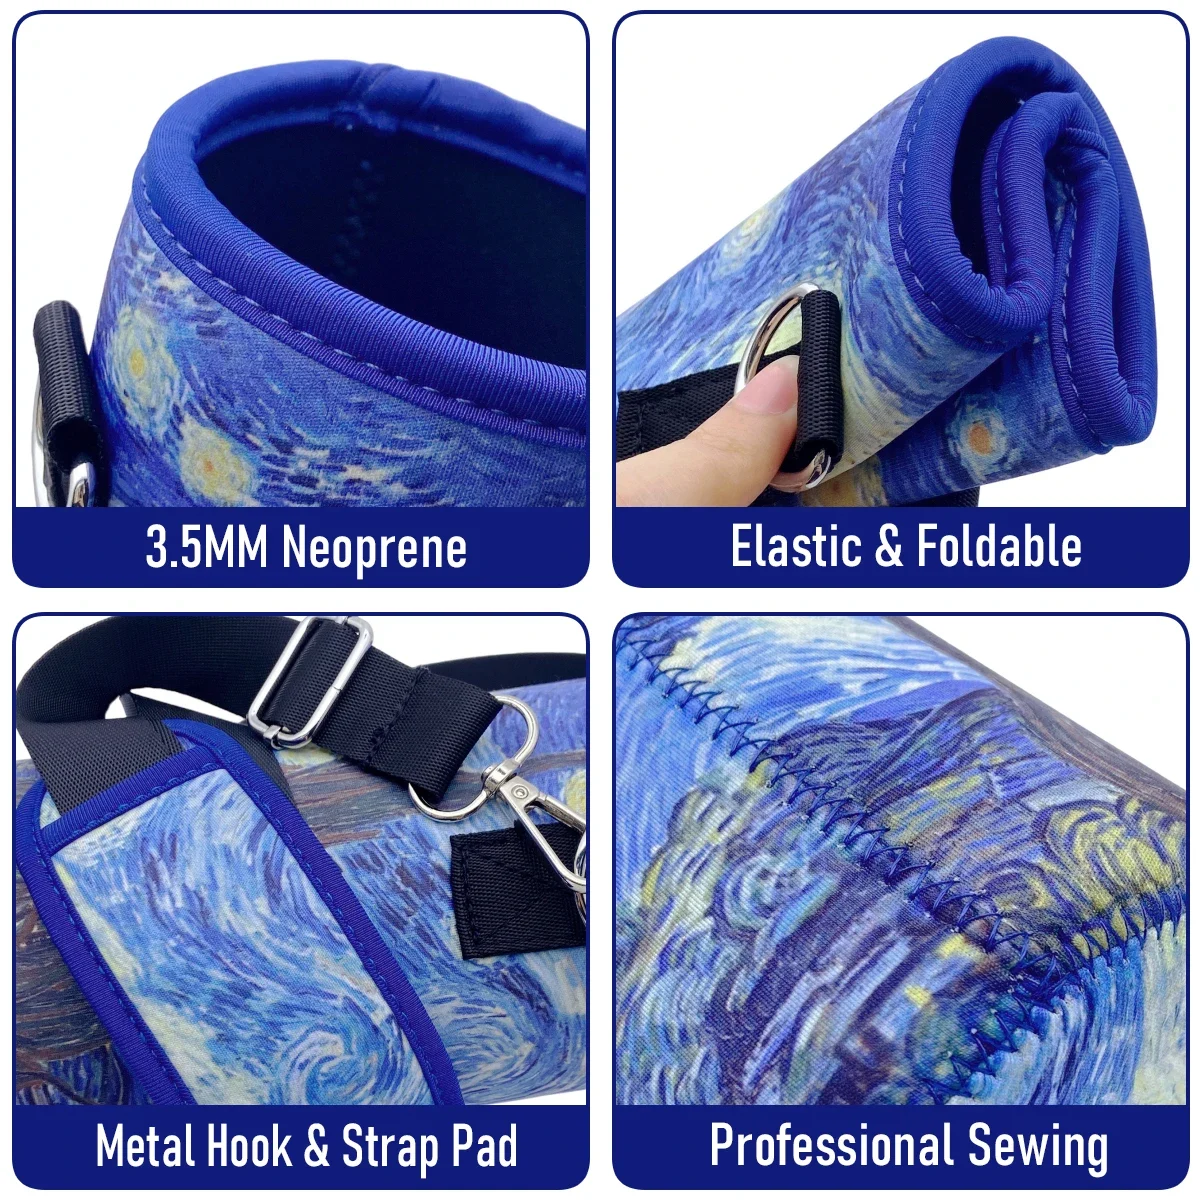
Water bottle holder details: seams, clips and strap
Approximate viewing guide: 0–12 s product overview, attachment ring and base seam; 12–22 s folding the holder; 22–33 s clip, strap and shoulder pad; 33–44 s bottle placement and carrying. The opening text refers to customizing your own water bottle holder.
Try the normal bottle-access sequence
Insert the intended bottle and check its seating. Can it go in without excessive force, and does the holder sit as intended rather than bunching or folding under the base? Then remove and reinsert it using the sequence planned for the program.
Follow the intended cap-opening and closing sequence, including any use of a lid handle. Check whether the rim or strap obstructs your hand, cap rotation, or the handle. Record whether cap access requires removing the bottle rather than assuming every cap can be operated inside the holder.
Check strap adjustment on the wearer
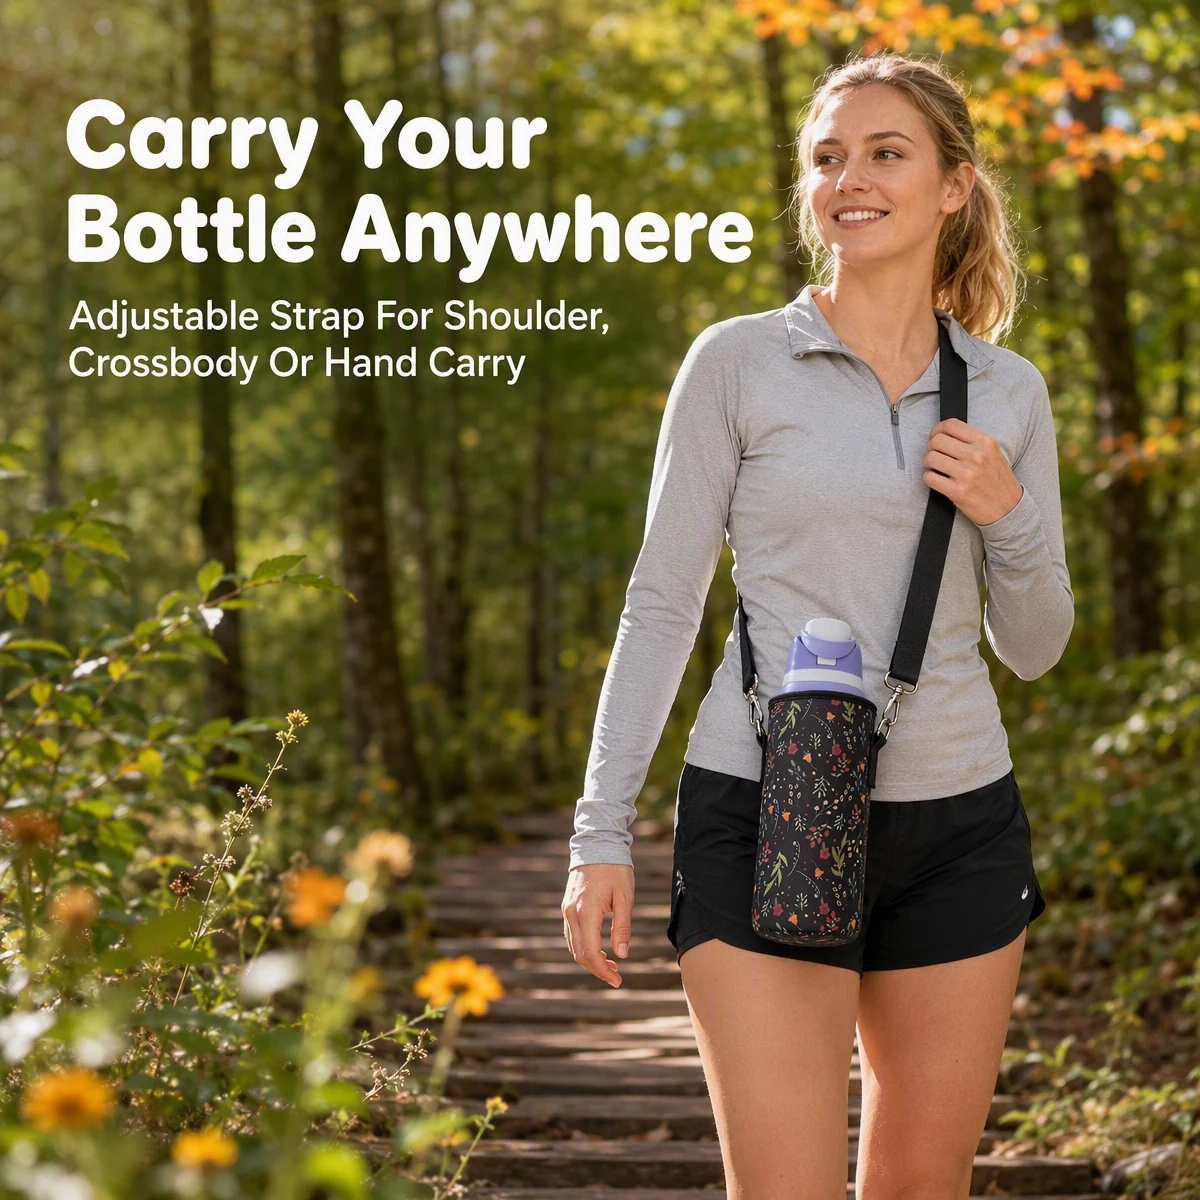
Have an intended wearer try the strap with the clothing they expect to use. Keep the bottle supported over a protected surface while adjusting the strap. In the planned shoulder or crossbody position, can the wearer reach a useful carrying height, operate the adjustment, and access the bottle? Record the chosen setting and any remaining adjustment.
Agree how strap length is measured, including whether clips are included. For a requested shoulder pad, check where it rests and whether it covers the contact area at that setting. Identify which additional wearer and clothing combinations need sample checks.
Inspect the attachment points and base
Check both metal clips and their connections to the holder. Do the clips open and close fully? Do they sit without twisting the webbing or pressing an edge into the bottle? Inspect attachment stitching, the bound rim, and the round base seam for loose threads, visible gaps, or uneven edges.
With the bottle inserted, check that its base sits where expected and the holder is not pulled noticeably out of shape. Photograph any issue at the affected point.
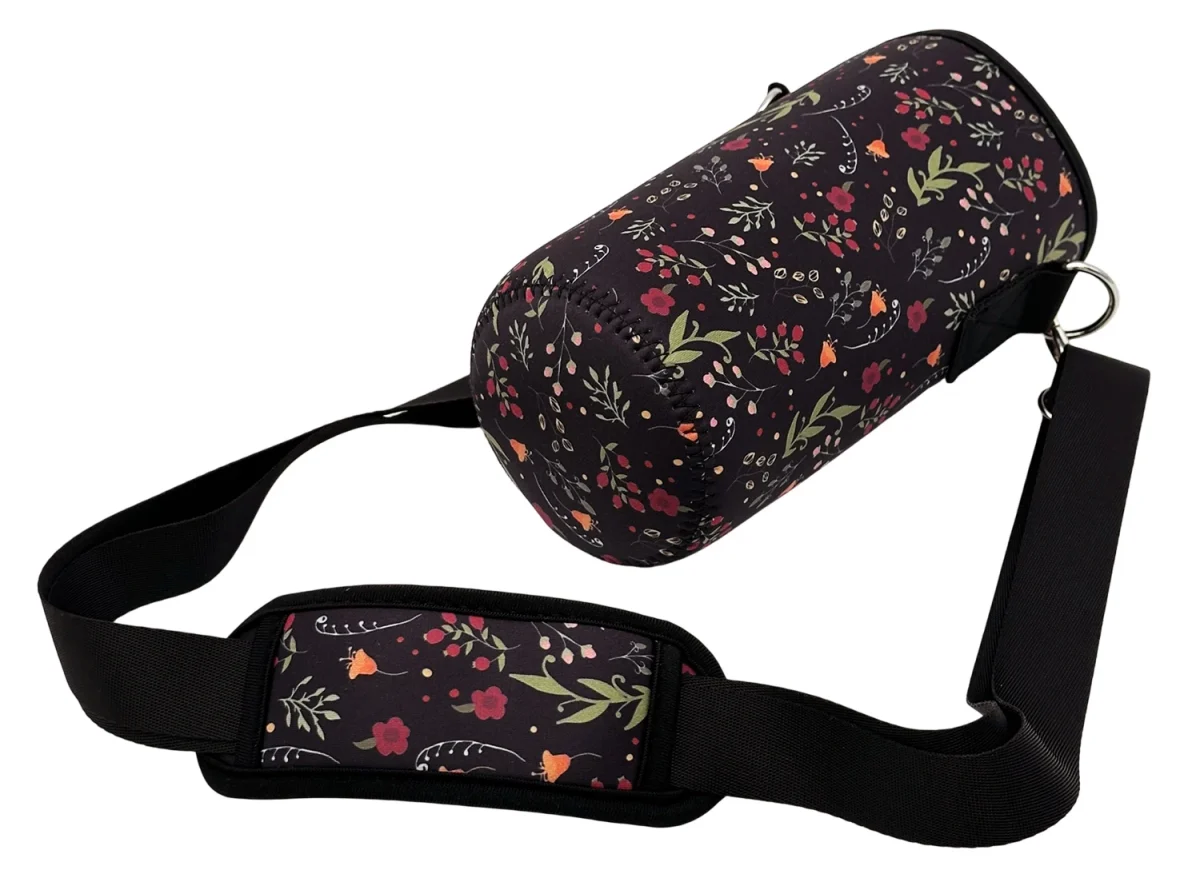
For the carrying check, use the agreed representative bottle fill and load. First lift the water bottle carrier over a protected surface, then try a short carrying check with the intended wearer and clothing in a clear area. Watch for bottle sliding or tilt, edge pressure, strap-setting changes, and movement at clips or attachment points. Record the setup and observed issues. Have the supplier review any proposed change, then repeat the relevant checks on the revised sample. This is a fit observation, not a destructive pull test, drop test, or rated-load certification.
Keep the quotation and sample checklist together
- Bottle reference, labeled measurements, and access sequence.
- Proposed holder construction and agreed material, thickness, and fabric.
- Strap length convention, adjustment needs, shoulder pad requirement, and intended wearers.
- Quantity per design per size, plus sample observations and changes awaiting review.
Custom orders require at least 300 pieces per design per size; different designs or sizes cannot be pooled. The supply includes the holder and agreed strap components, not the bottle. Confirm sample cost, availability, and timing for the project.
Keep the water bottle holder product reference with the brief so the quoted configuration and reviewed sample can be compared.